On your phone? For the best view, read this guide on a computer. The prompt and screenshots are easier to see and copy on a bigger screen.
How to Edit Videos With CapCut Inside ChatGPT
One folder. One prompt. One finished video.
I edited my last reel without opening an editing app. I put everything in one folder, gave ChatGPT one prompt, and tweaked the result in plain English.
- Install the pluginOne prompt from CapCut.
- Make one folderFootage, assets, references, brand kit.
- Send the big promptIt edits the whole video.
- Tweak in plain EnglishJust say what you want changed.
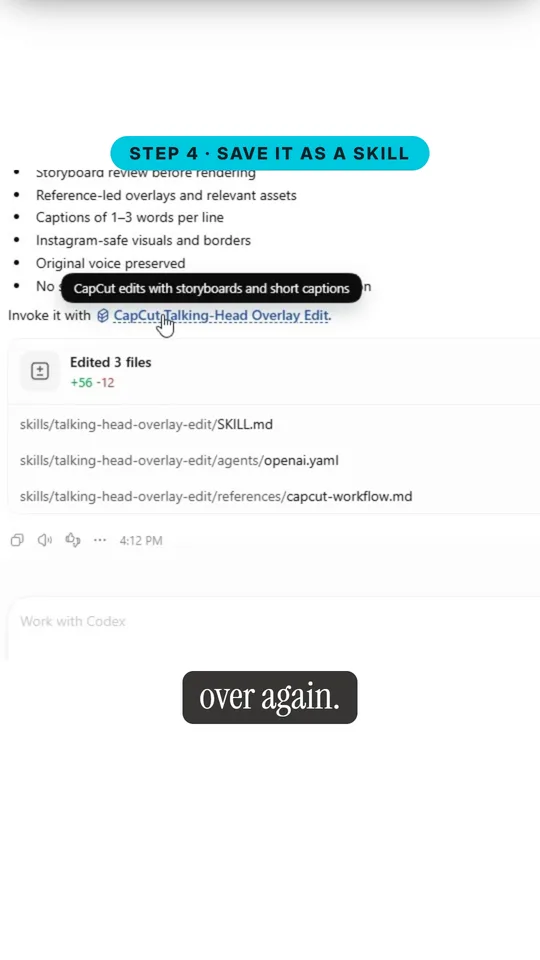
- Save it as a skillReuse it on every new video.
See It in Action
This is the finished reel next to my raw take. Drag the line to compare. Every effect in it started as a line I said on camera.
Install the CapCut Plugin
- This runs through the CapCut plugin inside a ChatGPT desktop (Codex) task, not a regular ChatGPT chat in the browser.
- You need the ChatGPT desktop app on your computer.
- You need a CapCut account. You sign in to authorize the plugin during setup.
- Your account and region need access to the plugin. CapCut says availability may vary by app version, account and region.
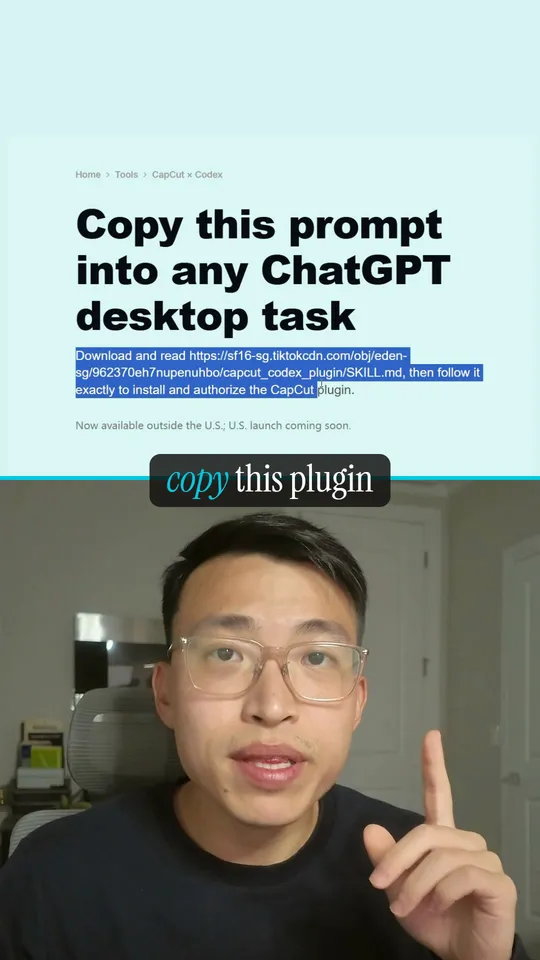
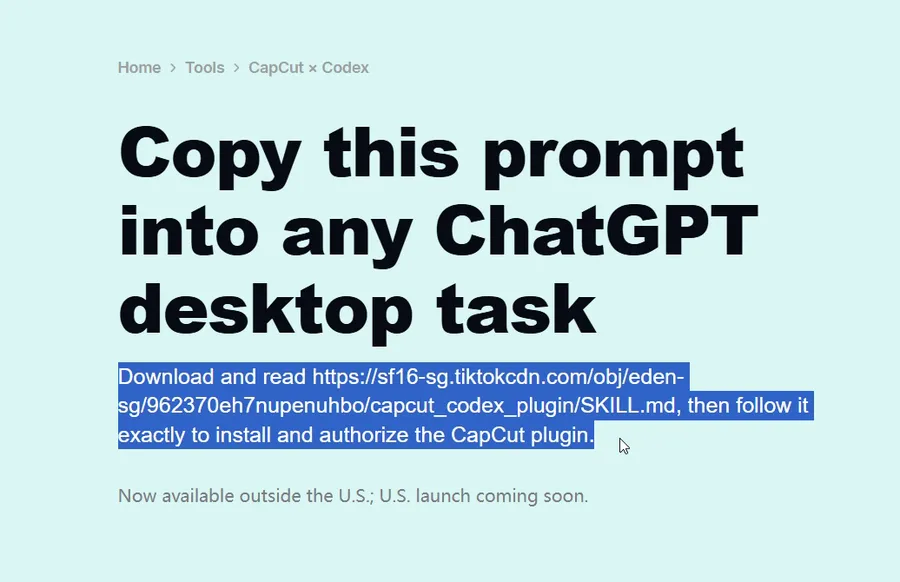
Open CapCut × Codex and copy the setup prompt. Paste it into a new task in the ChatGPT desktop app.
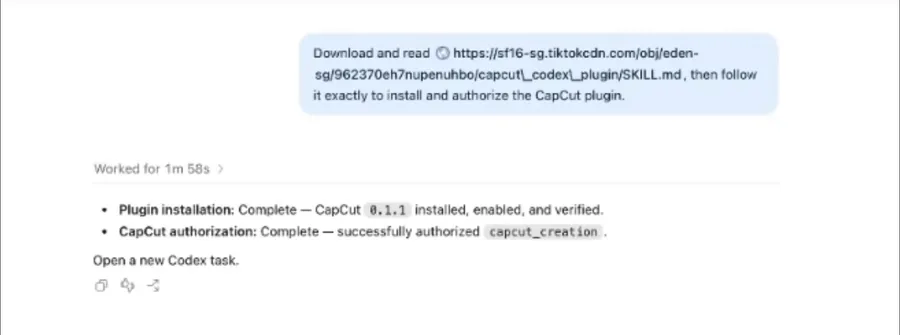
Follow the install and authorization steps, and sign in to CapCut when it asks. You are ready when you see Plugin installation: Complete and CapCut authorization: Complete. Then open a new task for your edit, as the installer tells you to.
Good to know: CapCut’s page says it is “now available outside the U.S.; U.S. launch coming soon.” Always copy the prompt from CapCut’s own page, since it installs software on your computer.
Put Everything in One Folder
Make a folder with everything the edit needs:
raw/ your raw talking-head video
assets/ screenshots, screen recordings, logos
references/ creator videos whose style you like
brand-kit/ colors, fonts, logo
script.txt so names are spelled right
Start a new task in the ChatGPT desktop app, click Choose project, and pick that folder. Now it can see every file.
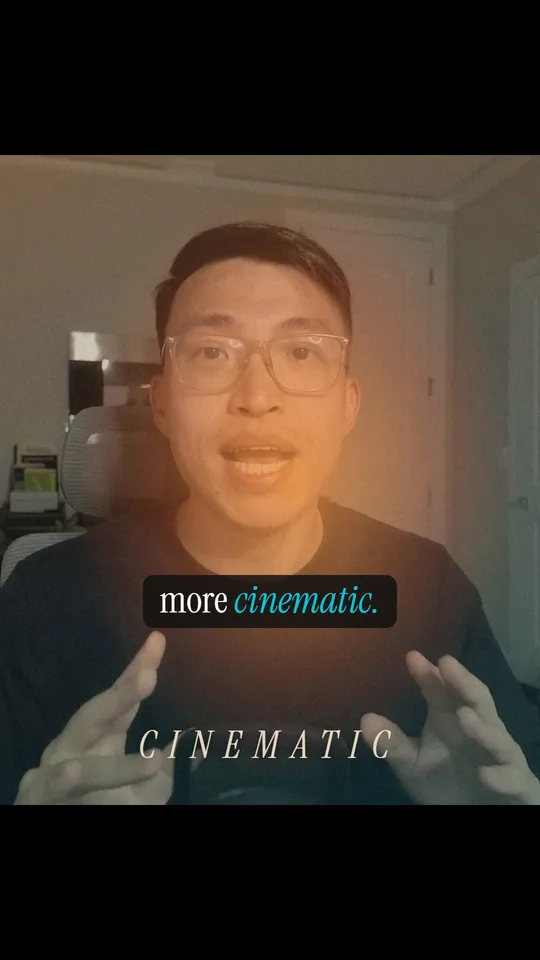
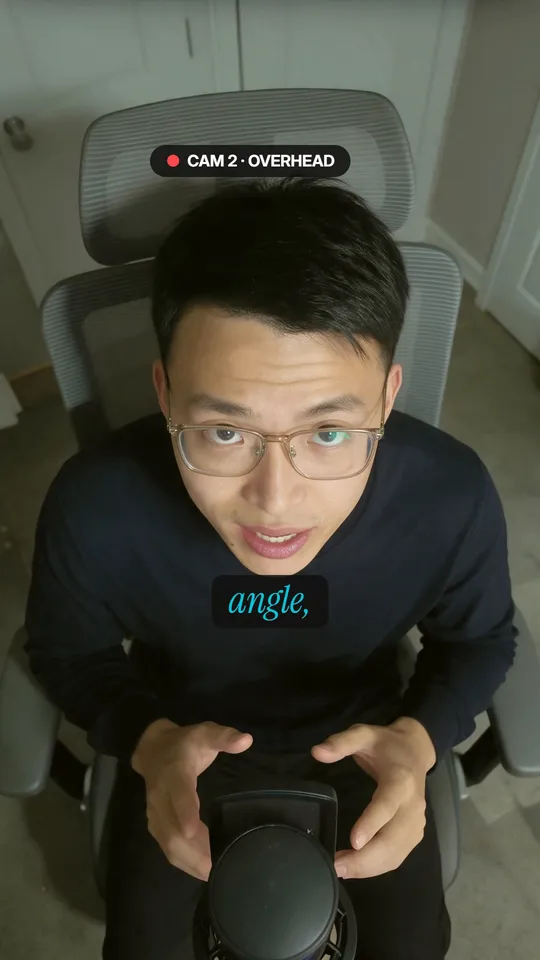
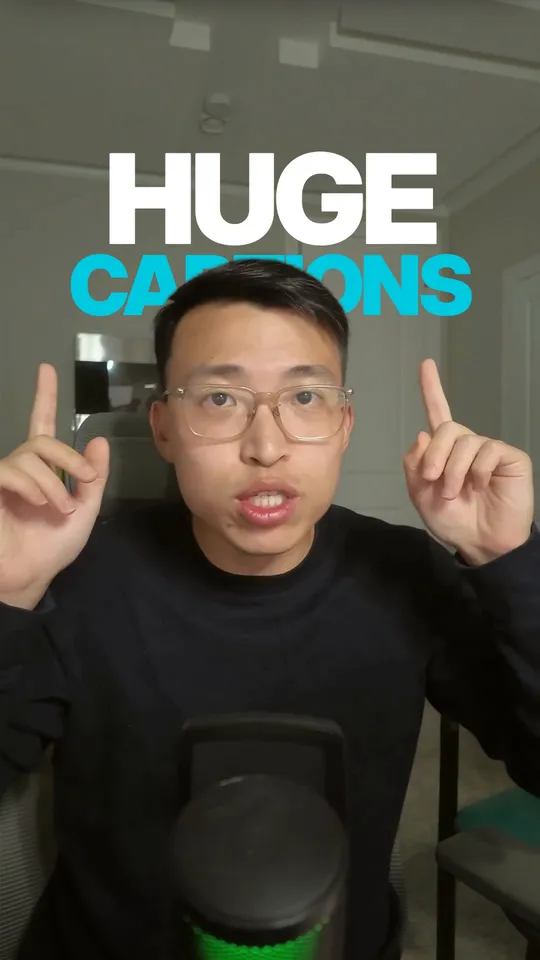
Pro tip: say your edits out loud while you record, like “make this frame more cinematic” or “add huge captions behind me”, and do a gesture on each one. The edit lands right on that moment.
Send One Prompt to Edit the Whole Video
Copy this, change anything that does not fit your video, and send it.
Why the storyboard matters: you see every planned frame before anything renders, so you can fix the plan in one sentence instead of re-rendering the whole video.
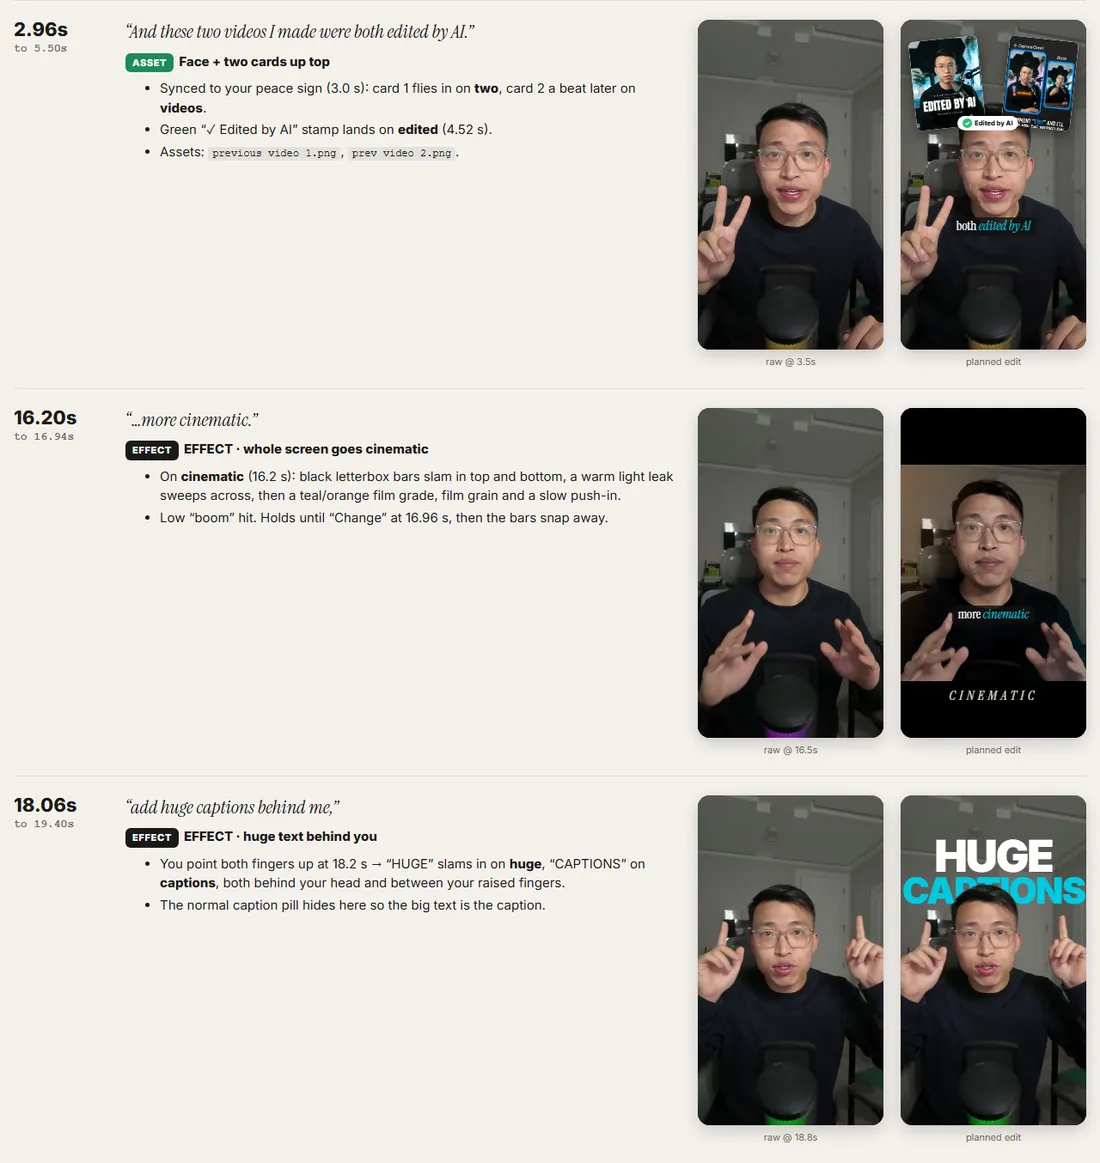
Edit It in Plain English
Watch it on your phone, then just say what you want changed. These are real notes I sent:
One sentence per fix. Keep going until it looks right.
Turn It Into a Reusable Skill
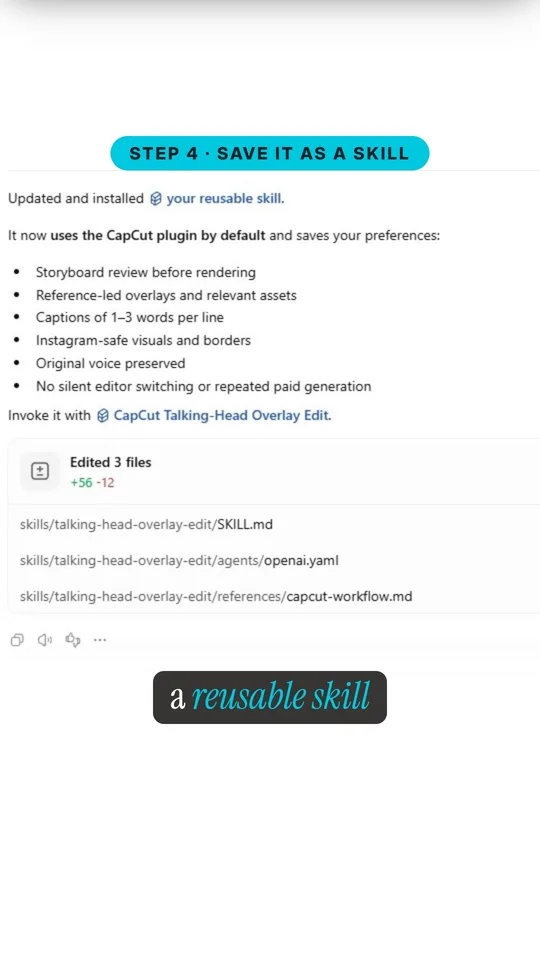
Once the video looks right, don’t start from scratch next time. In the same task, send this:
It writes a SKILL.md file with everything it learned from this edit: your style, your rules and your fixes.
Next video: put your new raw video in the folder, type @ and pick your skill, then just say “Edit my video.”
Quick Answers
Does this work in regular ChatGPT chat?
No. It uses the CapCut plugin inside a task in the ChatGPT desktop app. A normal browser chat can’t install or use it.
Is it available where I live?
CapCut says it’s available outside the U.S., with the U.S. launch coming soon, and that access can vary by app version, account and region. Check CapCut’s page for the latest.
Will it render the video straight away?
Not with my prompt. It builds a storyboard first and waits for your approval. Nothing renders until you say the storyboard looks right.
Should I post the first render?
Review it before you export or post. Watch it on your phone and check captions, timing and the top and bottom edges. Then fix anything in plain English.
Can I still fine-tune it by hand?
Yes. CapCut says you can open the full CapCut editor from the conversation for manual timeline control.